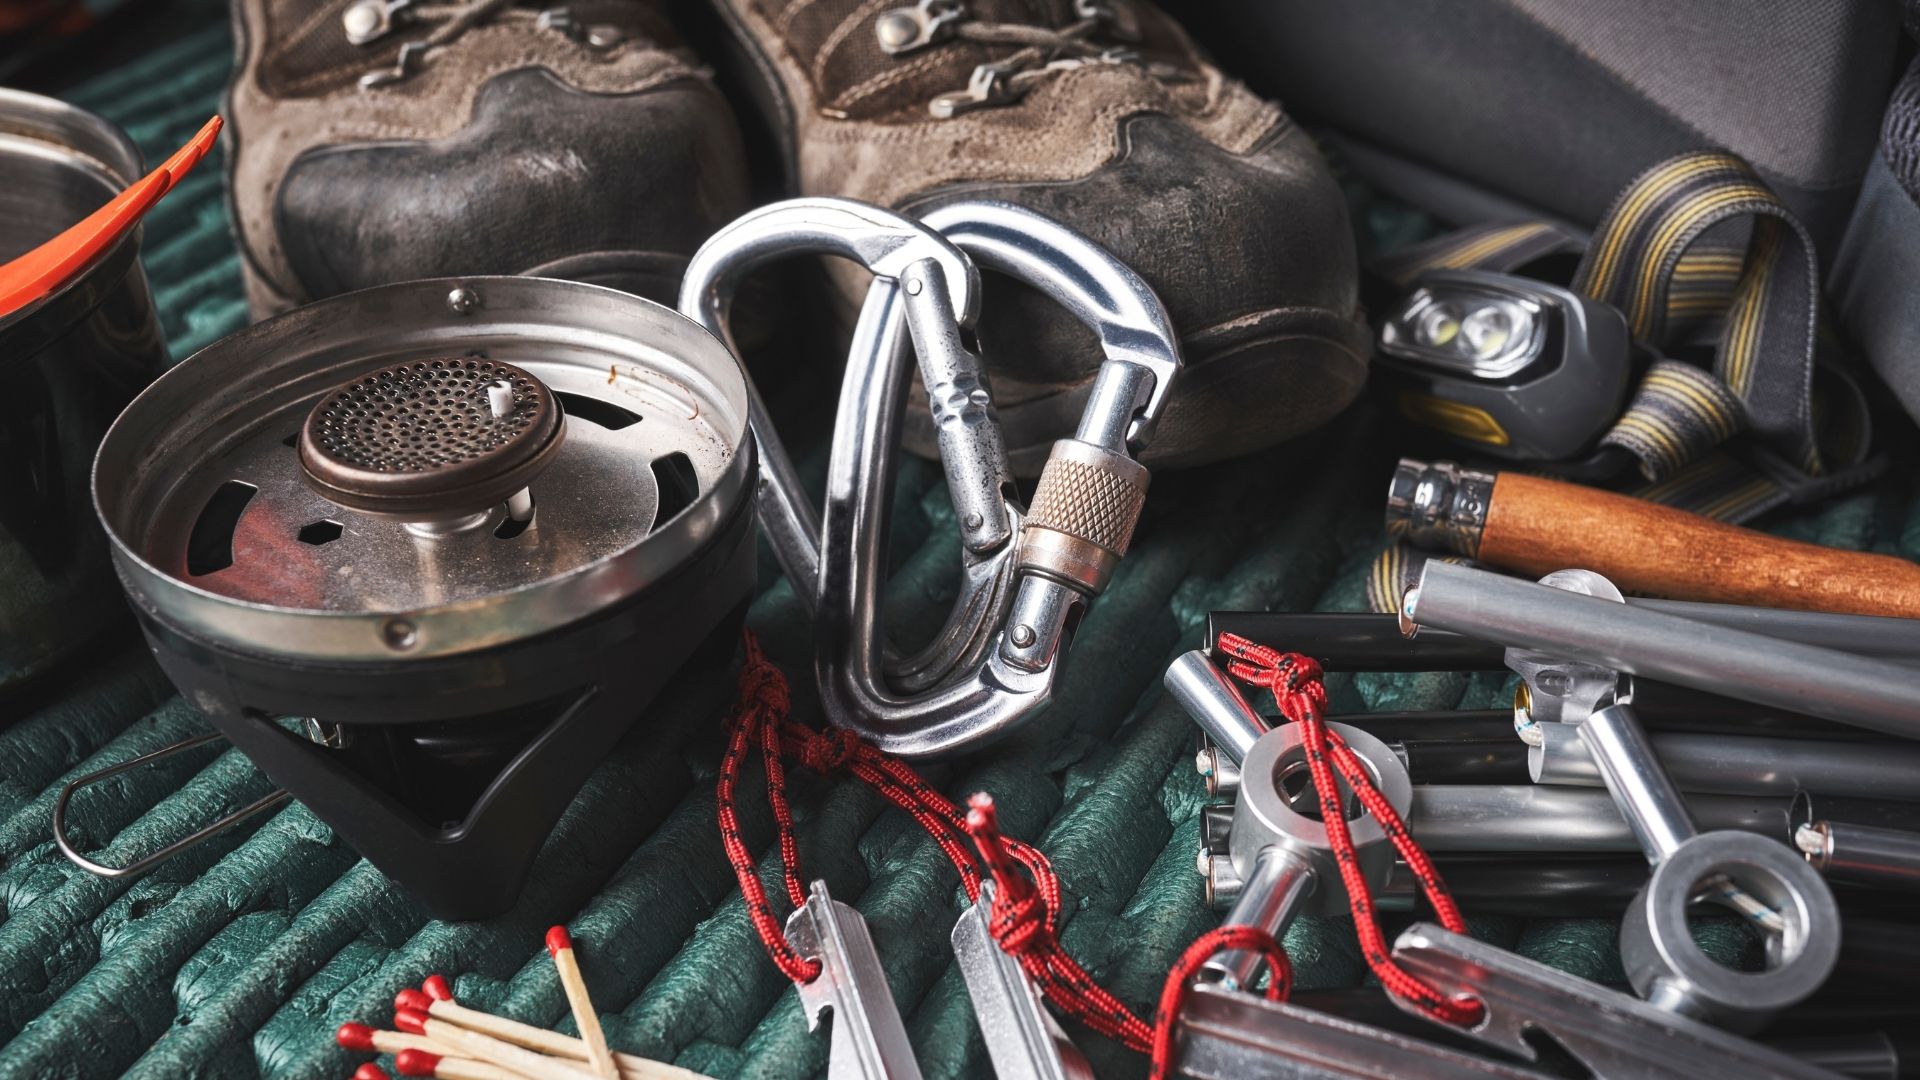
A well-organized and properly maintained gear setup is essential for any hiker, whether you’re planning a quick day trip or a multi-day trek. Not only does it save time and reduce stress, but it also extends the life of your equipment and ensures you’re always ready for your next adventure. Here’s how to master the art of hiking gear organization and care.
Why Organize and Maintain Your Hiking Gear?
-
Quickly find what you need for each trip
-
Maximize storage space and keep gear accessible
-
Prevent damage and prolong gear lifespan
-
Reduce last-minute packing stress
Step 1: Sort and Categorize Your Gear
Start by laying out all your hiking equipment and sorting it into categories. Group items by activity (day hiking, backpacking, winter hiking) and by type, such as:
-
Shelter (tents, sleeping bags, pads)
-
Cooking (stoves, utensils, food)
-
Clothing (base layers, outerwear, socks)
-
Footwear (hiking boots, camp shoes)
-
Essentials (first aid, navigation, lighting)
Breaking gear into core groups and activity-specific piles makes it easier to pack for different trips and keeps everything organized at home135.
Step 2: Use Storage Bins and Labels
Once sorted, pack gear into labeled bins or totes. For example:
-
Everyday essentials bin
-
Cooking supplies bin
-
Winter gear bin
-
Footwear bin
-
Miscellaneous small items bin
Labeling bins ensures you know exactly where each item is, making packing for your next adventure quick and easy.
Step 3: Create a Dedicated Storage Space
Designate a closet, shelf, or corner of your garage specifically for hiking gear. If possible, avoid mixing outdoor gear with household items to prevent damage and confusion. Use shelving units, hooks, and clear bins to maximize vertical and horizontal space. Keep frequently used items in easy-to-reach spots, and store off-season or rarely used gear further back.
Step 4: Clean and Maintain Your Gear
Proper cleaning and maintenance are crucial for gear longevity:
-
Boots: Brush off dirt, wash with mild soap, and air dry. Condition leather boots to prevent cracking.
-
Backpacks: Empty all pockets, shake out debris, and spot clean with gentle soap.
-
Sleeping bags and pads: Air out after each trip; store sleeping bags uncompressed in a mesh or cotton sack to maintain loft.
-
Tents: Clean and dry thoroughly before storage. Store loosely in a breathable bag; keep poles partially assembled to reduce strain on shock cords.
-
Clothing: Wash technical fabrics according to manufacturer instructions; ensure items are completely dry before storing to prevent mold and odor.
Step 5: Inventory and Packing Lists
Keep an up-to-date inventory of your gear. Use a spreadsheet or checklist to track items, note their condition, and create packing lists for different types of trips. This helps prevent forgotten essentials and makes it easier to identify gear that needs repair or replacement.
Step 6: Store in a Climate-Controlled Environment
Whenever possible, store your gear in a cool, dry, and climate-controlled space. Avoid damp basements or hot attics, as moisture and temperature extremes can damage fabrics, coatings, and insulation. Use dehumidifiers if necessary to keep the area dry.
Pro Tips for Ongoing Organization
-
Clean and put away gear immediately after each trip
-
Rotate gear based on seasonality for easy access
-
Use vertical storage solutions to maximize space
-
Dedicate separate bins for toiletries, first aid, and electronics (remove batteries before storing)
-
Vacuum-seal out-of-season clothing to protect from dust and mold
Conclusion
Organizing and taking care of your hiking gear doesn’t have to be overwhelming. With a few simple systems—sorting, labeling, cleaning, and storing thoughtfully—you’ll always be ready for your next outdoor adventure. A little effort after each trip pays off in longer-lasting gear and stress-free packing every time you hit the trail.


